Creating cinematic sports motion graphics for short-form video platforms requires a balance of strong visual assets, dynamic camera movement, and crisp audio sync. While professional editors use heavy desktop software, mobile creators can now achieve similar results by combining AI asset generation with mobile keyframe editing techniques.
In this guide, we will walk through the complete process of generating sports visual frames and assembling them into an animated short video using mobile editors like CapCut, VN, or Alight Motion.
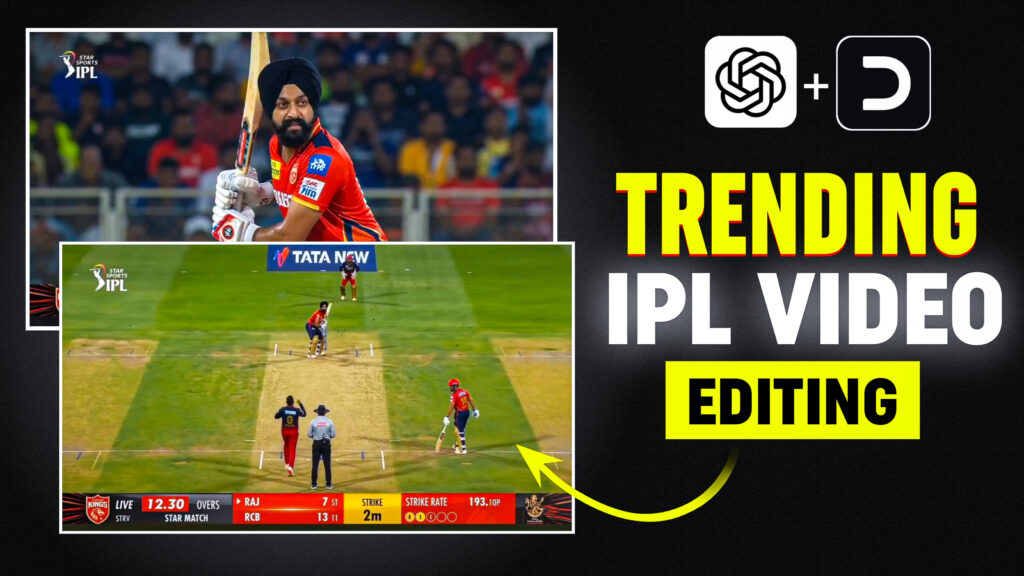
Key Technical Elements of Sports Video Editing
To give your edits a professional feel, your project setup should focus on three foundational elements:
- Visual Layering: Separating the foreground subject from the background to allow dynamic lighting and text placement behind the character.
- Keyframe Motion: Adding subtle digital pans and zooms to static generated images to create a continuous camera motion effect.
- Audio Pacing: Syncing scene cuts, lower-thirds, and visual reveals directly to audio beats and sound effects (SFX).
Step 1: Generating Base Asset Frames with AI
Before opening your video editor, generate 3 to 4 distinct visual frames to build a complete sequence (e.g., intro stance, close-up action, celebratory pose).
Base Visual Prompt Template
Prompt:
High-impact sports graphic composition featuring an athlete in dynamic action posture inside a lit stadium at night. Sharp focus, vibrant team color lighting, stadium floodlights blur background, detailed texture, cinematic campaign style, 8k resolution, 9:16 aspect ratio.
Step 2: Assembling & Animating in Mobile Editors
Once your visual assets are ready, follow these technical steps inside your mobile editing software:
1. Canvas Setup & Aspect Ratio
- Create a new project and import your visual frames.
- Set the project canvas format to 9:16 for mobile shorts/reels.
2. Applying Keyframe Movement (Simulating Camera Tracking)
- Select the first frame and add a Keyframe at $t = 0\text{s}$.
- Move the playhead to the end of the clip ($t = 3\text{s}$), add a second Keyframe, and apply a subtle zoom-in ($105% – 110%$).
- This simple continuous movement keeps the viewer engaged without distracting from the main subject.
3. Overlaying Motion Graphics & SFX
- Use transparent overlay graphics (light leaks, speed lines, or particle dust) set to Screen or Overlay blend modes.
- Place a low-frequency Whoosh sound effect at every transition marker to give cuts physical weight.
Scene 2 – Match Action Shot
Step 3: Color Correction & Sharpness Adjustments
To ensure all separately generated AI images match seamlessly in tone, apply global adjustment settings across the entire timeline:
- Contrast: $+10%$ (enhances depth between stadium lights and shadow areas).
- Sharpen: $+12%$ (sharpens fabric textures and lighting edges).
- Saturation: Adjust $+5%$ selectively to make vibrant team colors stand out without tinting skin tones.
- Vignette: Add $+5%$ edge darkening to frame the central subject.
Troubleshooting Common Editing Mistakes
- Issue: AI Generated Text Is Blurry or Incorrect
- Fix: Avoid generating text inside AI prompts. Instead, export clean background images from the AI generator and add crisp, vector-based titles directly within your video editor.
- Issue: Transitions Feel Too Sharp or Abrupt
- Fix: Apply a 0.2-second cross-dissolve or motion blur effect between clips to smooth out hard cuts.
Summary
Dynamic sports motion editing relies on thoughtful sequencing, smooth keyframe transitions, and clean color grading. By utilizing AI tools for asset generation and mobile editors for precision timeline assembly, you can create high-quality broadcast graphics for your channel.